

Sender name and reply-to
Open Appearance → Notifications, choose Email, and expand the Email section. These apply to all four notification steps, not just the one you are editing.
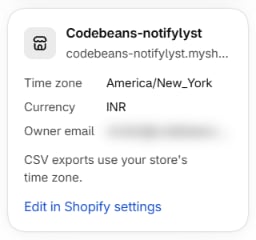
The store details card on the Settings page (time zone, currency, owner email) is read-only
here; change those with Edit in Shopify settings. Exports and reports use your store’s time
zone.
Email sending — Notifylyst or your own server
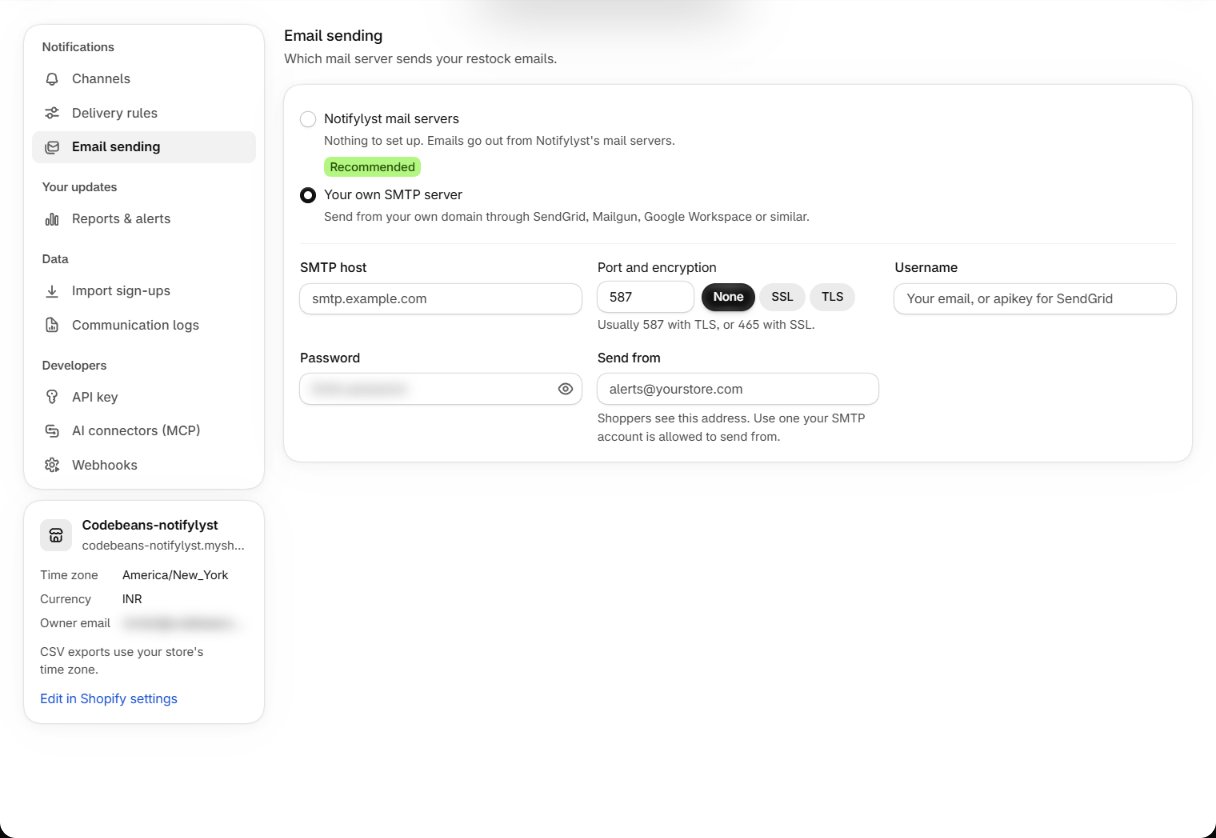
Settings → Email sending has two choices:- Notifylyst mail servers (Recommended, the default) — no setup, no DNS records, no credentials. The right choice for most stores.
- Your own SMTP server — send through your own mail provider. Reasons to bother: your own domain’s reputation, compliance rules that require mail to leave your infrastructure, or you already run a transactional mail provider.
Then send yourself a test from Appearance → Notifications and check
Communication logs.
Communication logs
Settings → Communication logs lists every message Notifylyst sent for your store — restock alerts, summary reports, sign-up alerts and exports. Filter by what it was, channel, status (Sent, Failed, Pending) and date, or search. Failed rows show the reason. If nothing was sent you see Nothing was sent in this period with these filters.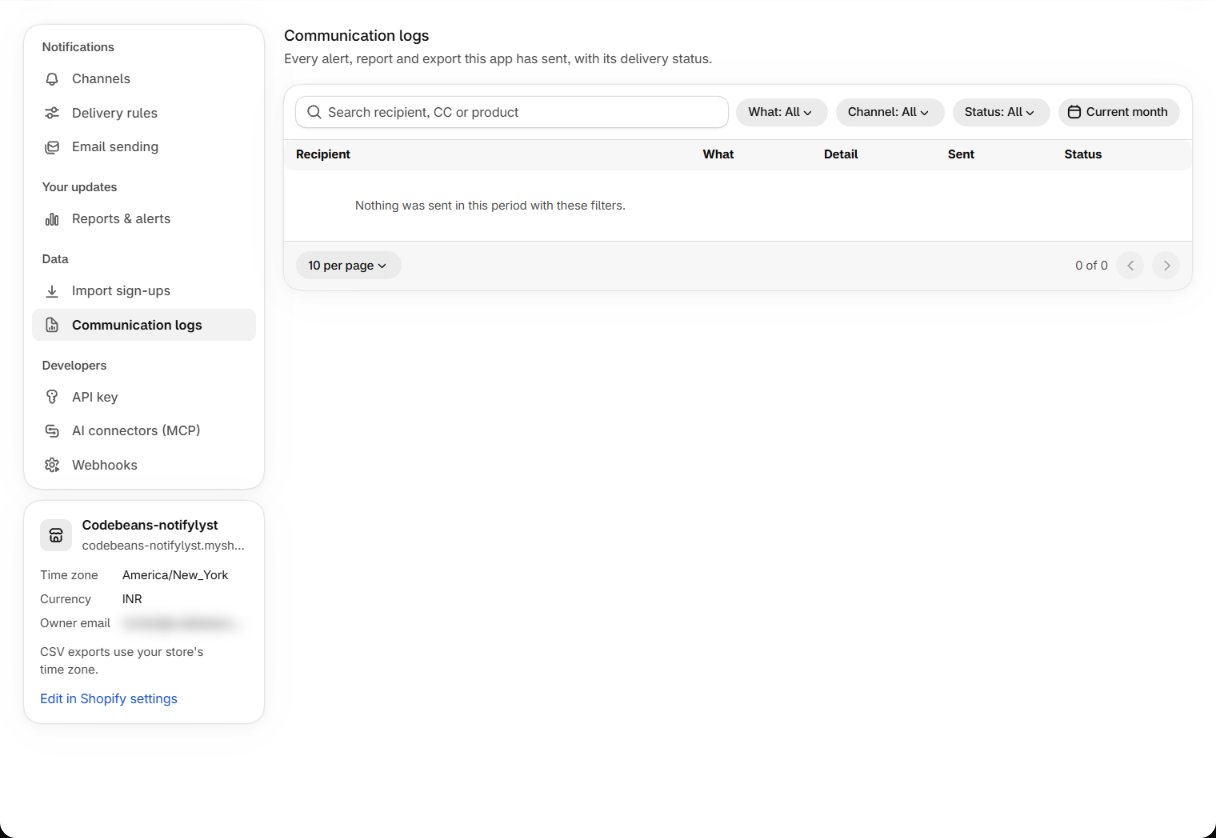
Delivery rules
Next: who is alerted, and when.
Message templates
Write the emails these settings send.